Protecting Your Device: How to Apply a Phone Screen Protector
In today’s digital age, the need to safeguard our electronic devices has never been greater. One essential accessory is the phone screen protector. Phone screen protectors shield your device from scratches, impacts, and everyday wear and tear, prolonging its lifespan and maintaining its pristine condition. In this guide, we’ll walk you through the steps to apply a phone screen protector to ensure maximum protection.
Before diving into the application process, it’s important to understand the various types of phone screen protectors available. Among the most popular options are tempered glass and ceramic liquid phone screen protectors. Each type offers distinct benefits. For instance, a ceramic liquid phone screen protector provides a layer of liquid ceramic, offering a seamless and robust shield without affecting the touch sensitivity of your device.
Step 1: Gather Your Materials
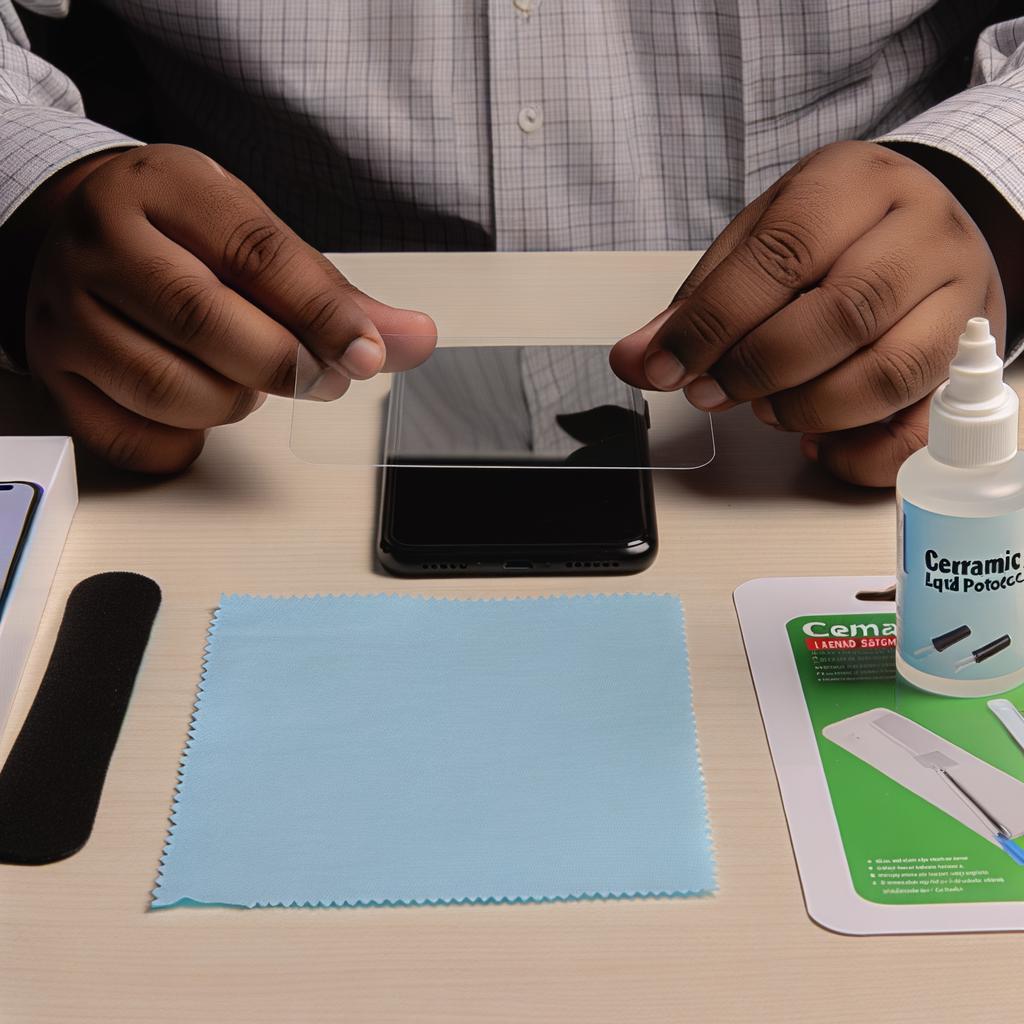
To begin, ensure you have all the necessary materials. You will need the phone screen protector, a microfiber cloth, a dust removal sticker, and an alcohol wipe. Many screen protectors come with these items included in the package. If you’re using a ceramic liquid phone screen protector, make sure to read the manufacturer’s instructions carefully for any additional materials required.
Step 2: Clean Your Phone Screen
A clean phone screen is crucial for a successful application. Begin by using the alcohol wipe to remove any oils and contaminants from the screen. Follow up with the microfiber cloth to dry and polish the surface. For any remaining dust particles, use the dust removal sticker to lift them away. This step ensures that there are no specks of dust or debris that could create bubbles or imperfections under the screen protector.
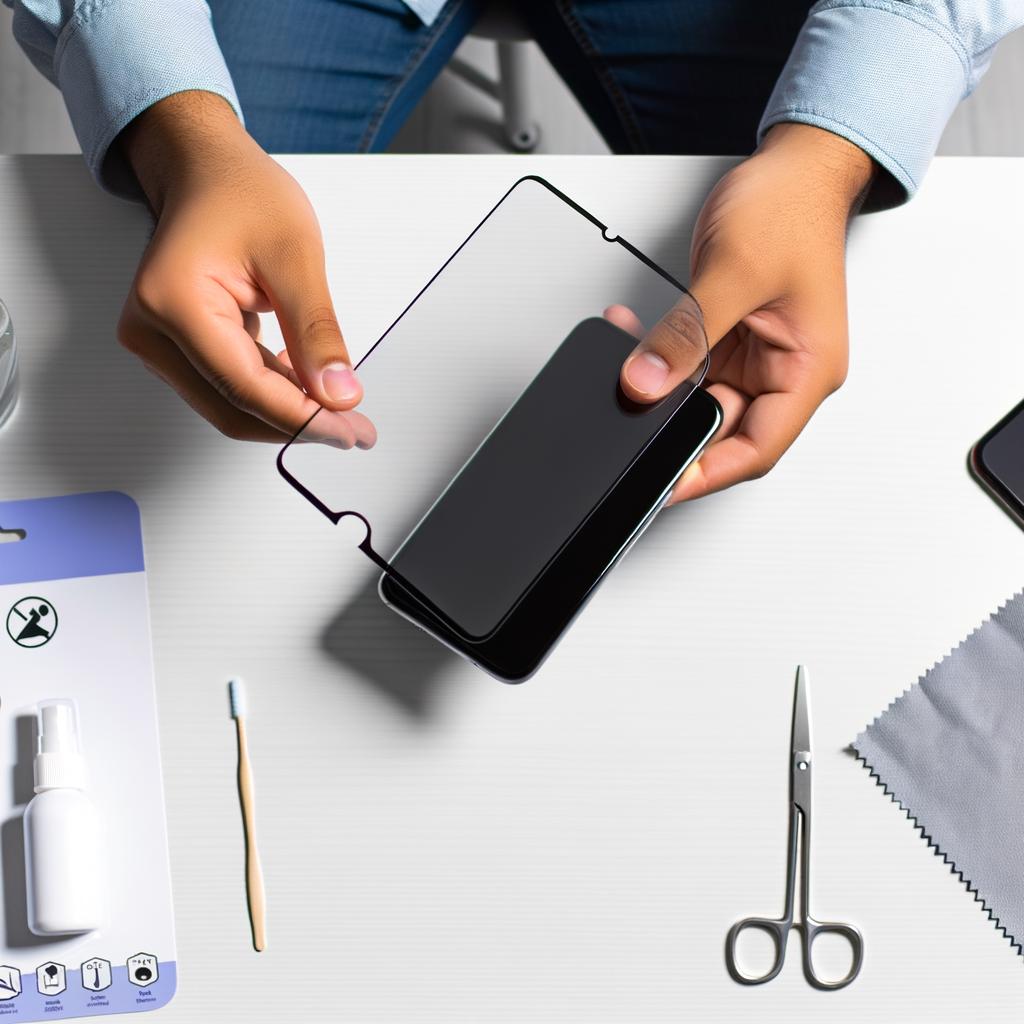
Step 3: Align and Apply the Screen Protector
Carefully peel the protective layer from the adhesive side of the screen protector. Align the screen protector with your phone screen, taking extra caution to line up the edges and any cutouts for the speaker, camera, and home button. Once properly aligned, gently lower the screen protector onto the phone screen. For traditional tempered glass protectors, you can often use the provided applicator to push out any air bubbles. If you’re applying a ceramic liquid phone screen protector, follow the specific instructions provided by the manufacturer for the best results.
Step 4: Final Touches
After the screen protector is applied, use the microfiber cloth to smooth out any remaining air bubbles and ensure a snug fit. If you encounter stubborn bubbles, gently press them out towards the edges. With a ceramic liquid phone screen protector, make sure to allow ample time for the liquid to cure and form a solid protective layer as indicated by the product guidelines.
Guangzhou Pinjun Electronics Co., Ltd. is a reputable provider of high-quality phone accessories, including screen protectors. With 15 years of experience and state-of-the-art manufacturing facilities, they offer OEM/ODM services and cater to a global clientele. Their commitment to quality and innovation ensures that you’ll receive top-notch products to protect your valuable devices.
In conclusion, applying a phone screen protector is a straightforward process that can make a significant difference in preserving the condition of your device. Whether you opt for a tempered glass or a ceramic liquid phone screen protector, following these steps will help you achieve a seamless application, providing peace of mind and enhanced protection. For reliable and premium-quality screen protectors, consider exploring the offerings from Guangzhou Pinjun Electronics Co., Ltd.